Industrial water softeners play crucial roles for protecting equipment that is heavy duty, decreasing the cost of maintenance, while providing constant performance in manufacturing construction, construction, as well as other industries. Hard water, which is rich in magnesium and calcium ions can cause a buildup of scale in boilers, pipes and equipment, which can lead to decreased efficiency, frequent breakdowns and higher energy consumption. If you’re planning to install the industrial water softener but aren’t sure what to do This article covers everything from choosing the best industrial water softener and installation it.
Types of Industrial Water Softeners
Not all industrial water softeners are made equally. The most effective choice for an industrial water softener system is based on your water hardness, consumption and industrial uses. Here are the most commonly used models, with their benefits and best application scenarios:
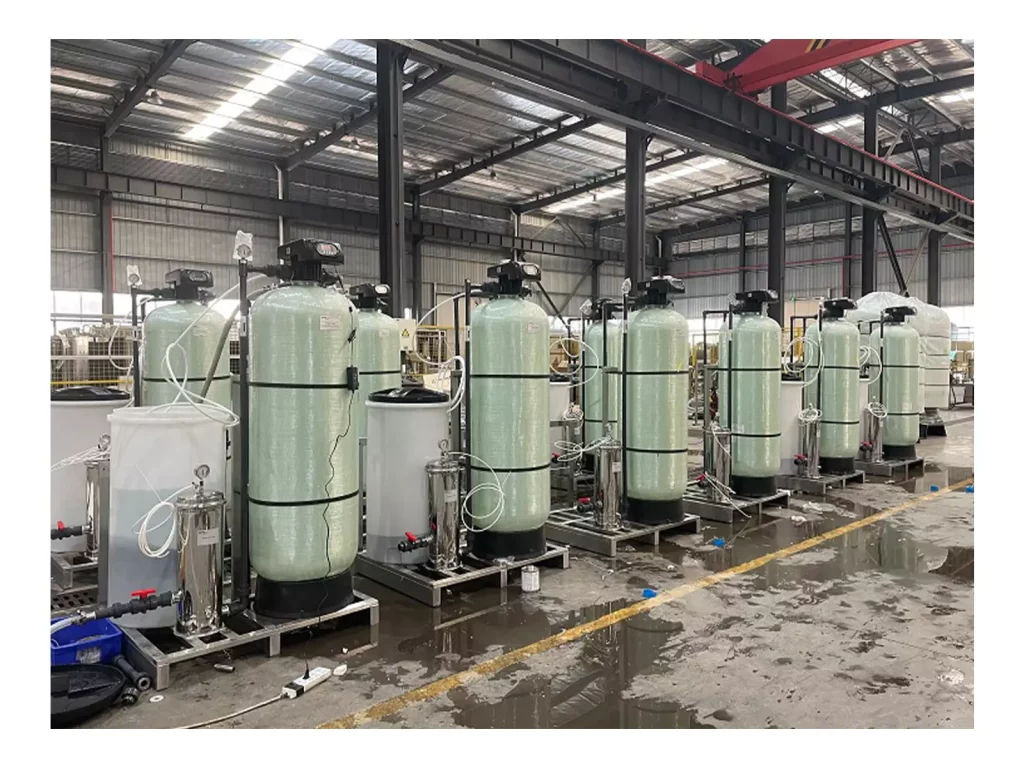
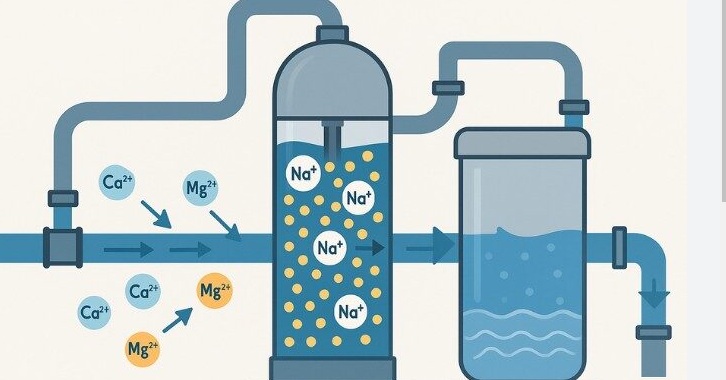
Ion Exchange Water Softeners
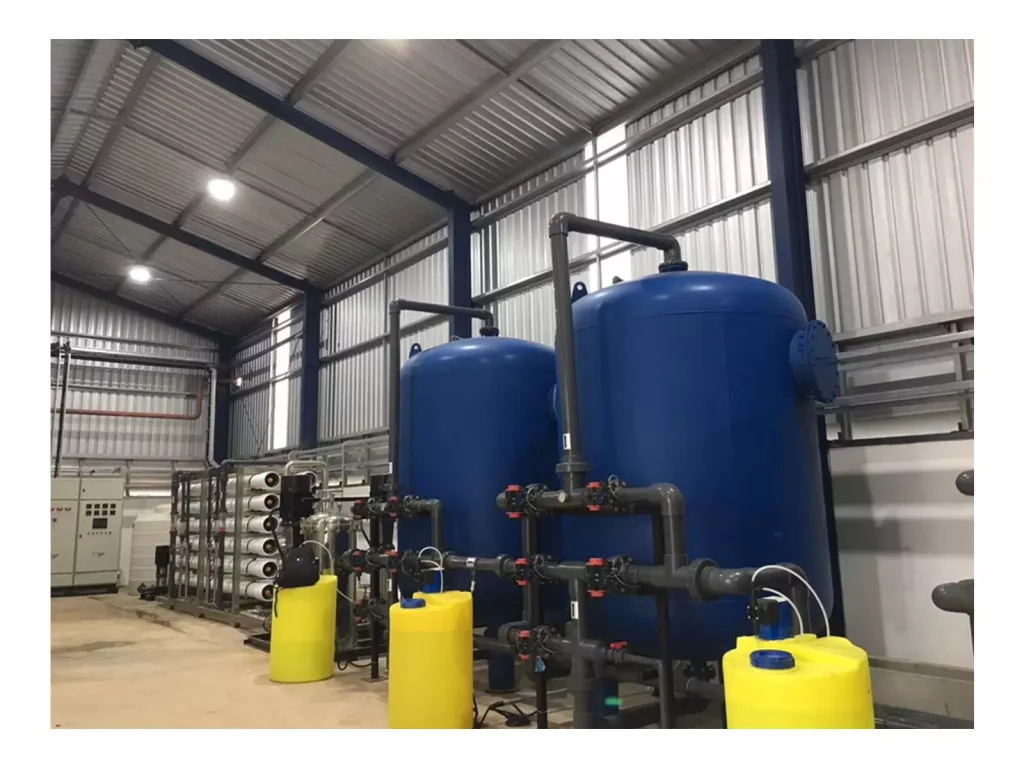
The most commonly used model for industrial applications Ion exchange systems function by replacing magnesium and calcium Ions with potassium or sodium ions. They are equipped with resin tanks that entrap hard minerals, and regenerate (flush out the minerals that have accumulated) with a brine solution.
- Advantages: High efficiency for large water flows, custom regeneration cycles and compatibility with the majority of industrial water volume.
- Ideal for: manufacturing facilities power stations, manufacturing plants and other facilities that have a consistent high demand for water (e.g. 500+ gallons of water per day).
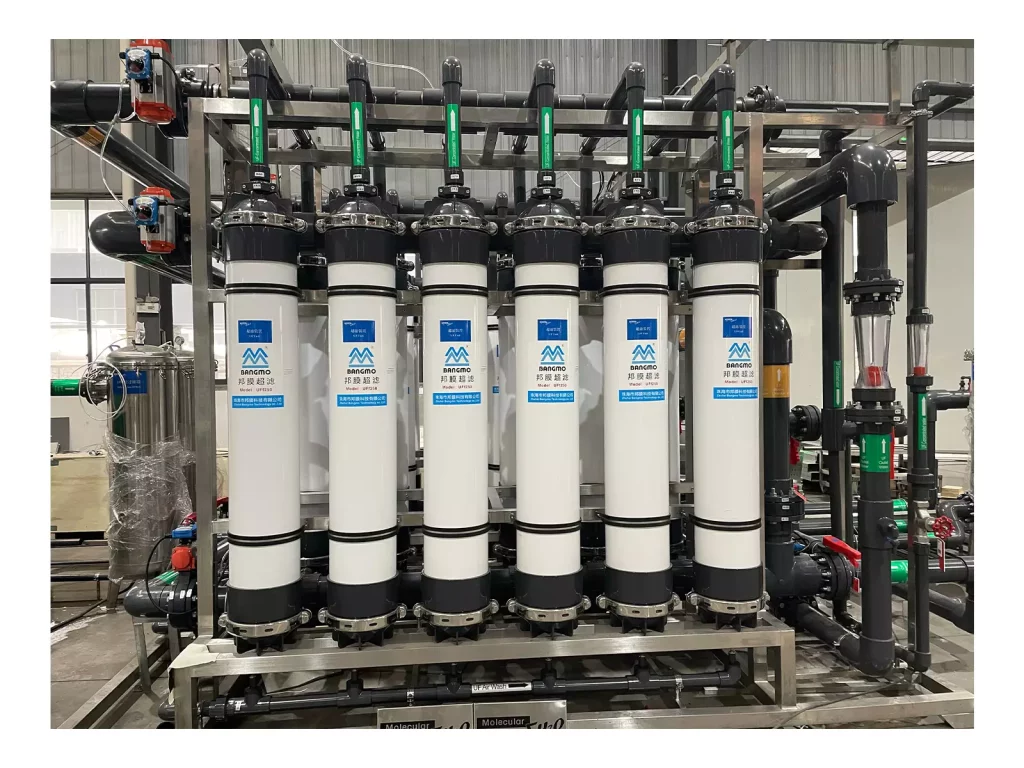
Salt-Free Water Softeners
Salt-free systems do not remove minerals, but instead transform them into harmless, non-scaling and non-scaling crystals which don’t adhere to pipes or other equipment. They make use of catalytic media to alter the structure of minerals.
- Benefits: No salt and brine is required, it’s low maintenance, and environmentally friendly (no discharges from recycling).
- Perfect for: Facilities that have salt limitations (e.g. Food processing plants) Small to medium-sized industrial operations or zones with moderate hardness in the water.
Selecting the Ideal Location for Your Industrial Water Softener
The position for your water softener at work directly affects the efficiency of your water softener, as well as access to maintenance. Use these guidelines to select the ideal location:
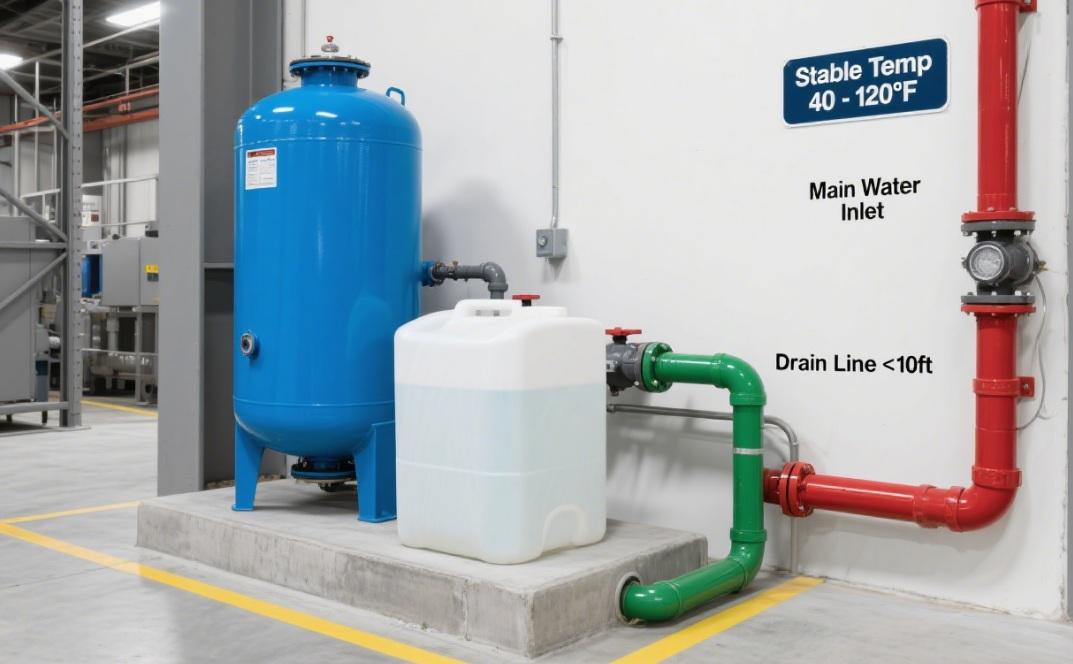
1. Proximity to the Main Water Line
Set the unit as near to the main water intake. This will ensure that all water (for machines cooling systems, cooling systems, and process) is softened prior to use. Avoid long pipeline runs between the equipment and the softener. This minimizes the loss of pressure and reduces the risk of scale buildup in pipes without protection.
2. Adequate Space for Installation and Maintenance
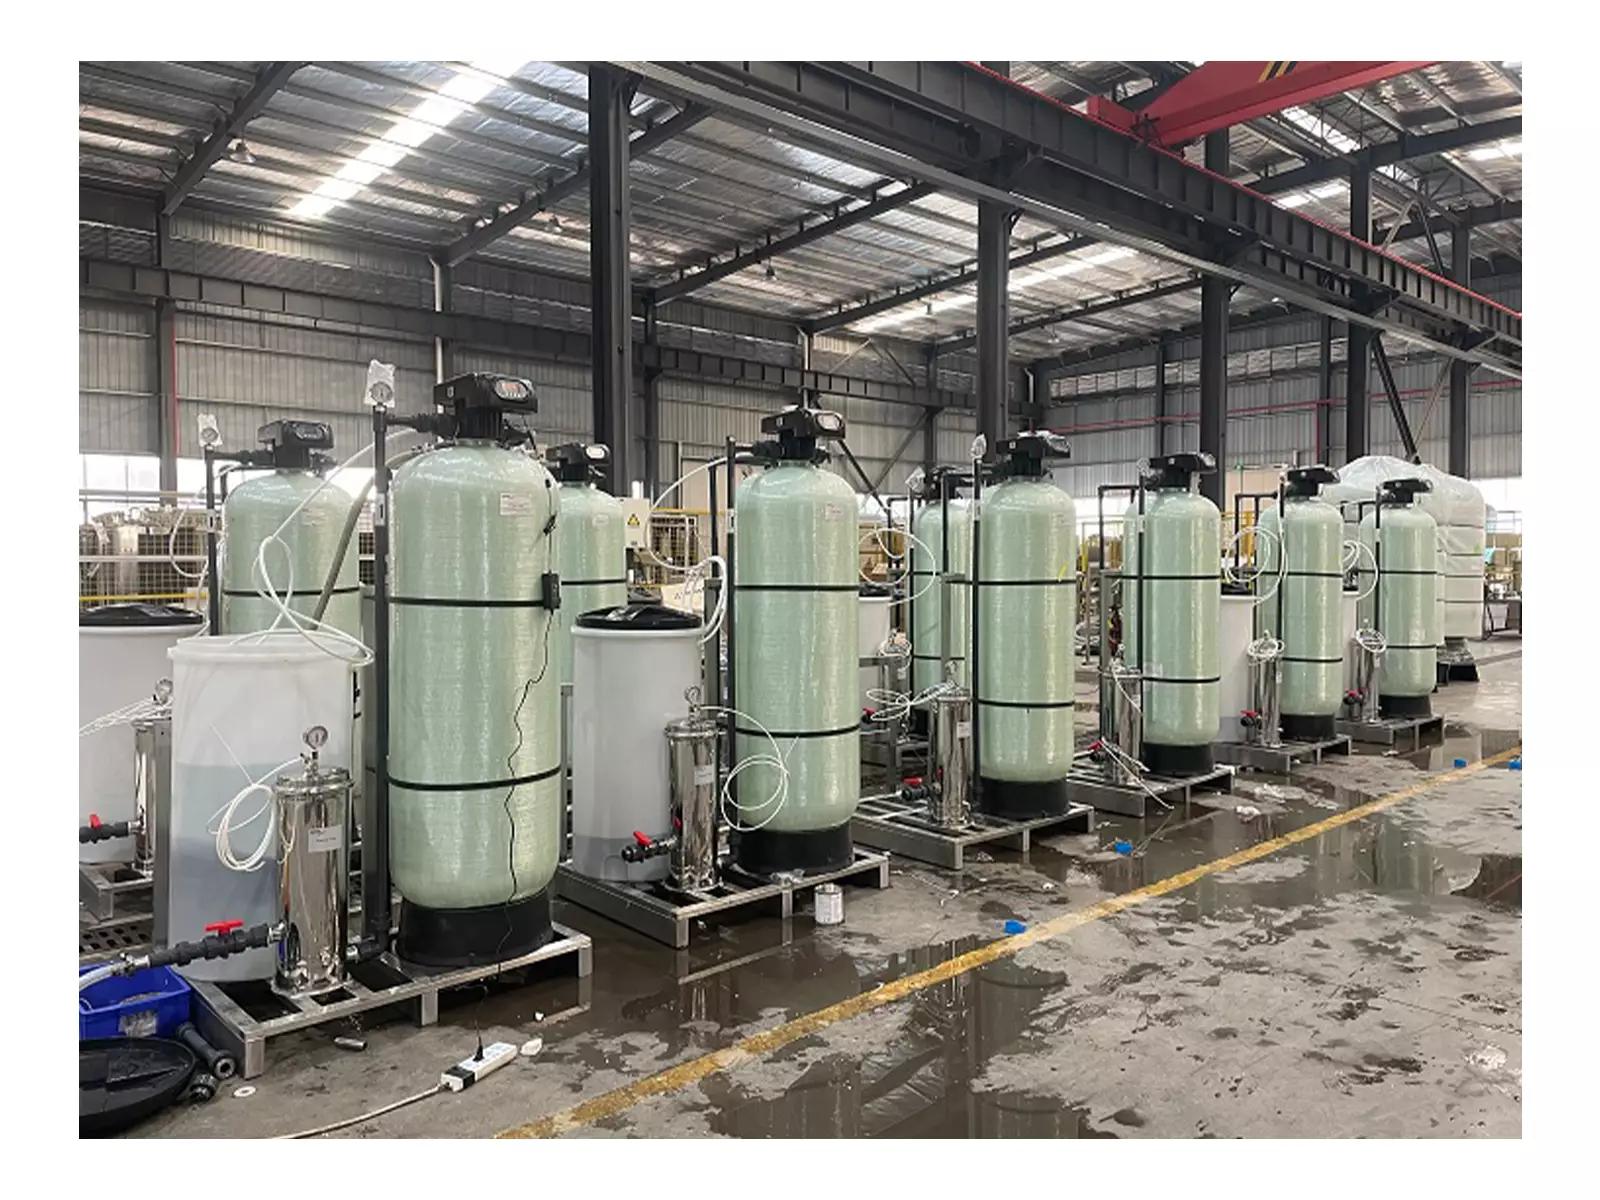
Industrial softeners are more powerful than the ones used for residential use (some contain tanks that are more than 6 feet high). Check that the area is:
- A minimum of 2 feet room around the tank are required for opening valves, filtering as well as the brine tank.
- Vertical space to accommodate storage of the resin tank (check the specifications of the manufacturer to determine the height requirements).
- There is room for a drain line (the drain should be located within 10 ‘ of the softener in order to prevent siphoning issues).
3. Environmental Conditions
Temperature: Place the softener in a place with a steady temperature (40–120°F / 4–49°C). Beware of freezing temperatures (can cause cracks in tanks) or extreme temperatures (damages the control panels and resin).
Dryness: Select an area with no moisture, since it can cause corrosion of parts of metal and short circuit electrical parts. If you’re installing in a damp space (e.g. or the basement) choose an ointment-proof mat and an air dehumidifier.
Ventilation: Be sure to have adequate circulation of air, especially in RO systems that are salt-free, to avoid the growth of mold and the overheating of control panels.
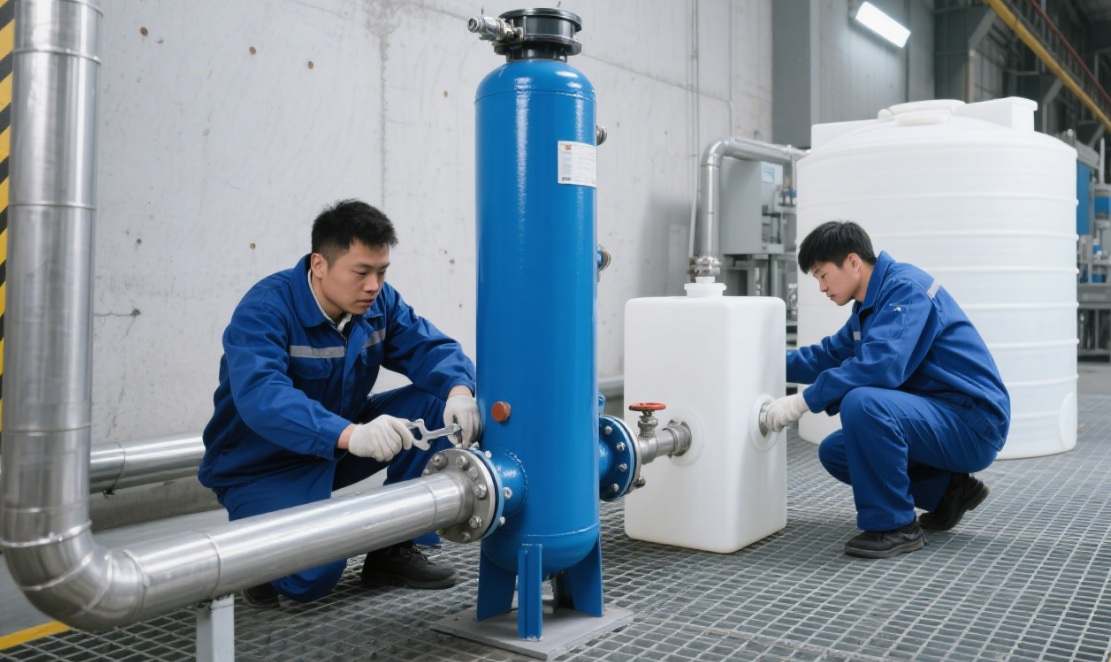
5 Steps to Installing an Industrial Water Softener
Installation of a water softener for industrial use is a complex procedure. We recommend contacting a professional plumber or technician who has expertise in the field of the installation of a water softener in an industrial setting. Here is a comprehensive outline of the steps to help you comprehend the procedure:
Step 1: Prepare for Installation
Find the main water valve and switch off the water. Shut off all faucets and valves downstream to remove any all remaining water from the pipes.
Check the water’s hardness Verify the level of hardness (use the test kit) to ensure that your softener is properly sized. Industrial systems are assessed using “grains per gallon (GPG)” or “parts per million (PPM )”-match the system’s capacity to the water consumption.
Remove the unit and inspect the Softener Inspect the unit for damages (e.g. cracked tanks, fittings missing) and ensure that all the components (resin tank brine tank and control panel, as well as valves) are included. Go through the manual of the manufacturer thoroughly and follow their instructions specific to the product.
Step 2: Install the Bypass Valve and Pipes
Cut the main Water Pipe: Use a pipe cutter to create an even cut on the primary line (ensure that the cut is straight to prevent leaks). Industrial pipes (2plus inch diameter) make use of a powered pipe cutter to increase the effectiveness.
Set up the Bypass Valve: Attach the 3-way bypass valve to the ends that are cut from the pipe that is used for mains supply. Make use of Teflon tape on the threaded connections to ensure they are secured. Make sure to tighten the connection using a pipe wrench. Beware of over-tightening as it could harm threads.
Connect Pipes Inlet/Outlet: Use industrial-grade pipes to connect through the bypass valve and connect them to softener’s intake outlets and inlet ports. Make sure you use fittings that are compatible with the material of your pipe (e.g. PVC adhesive for PVC pipes or compression fittings to stainless steel). Make sure the pipes are secured by clamps to avoid sliding.
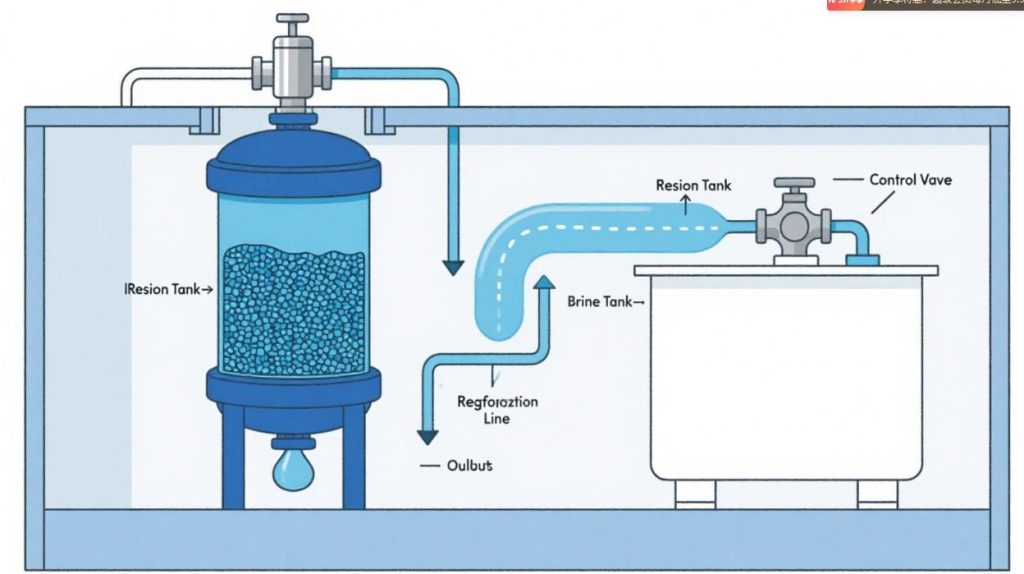
Step 3: Set Up the Brine Tank (for Ion Exchange Systems)
Place the Brine Tank Set it up close to the tank that holds resin (leave about 1-2 feet of space). Make sure it’s in a straight line (use an instrument for leveling) to stop salt from getting stuck.
Completely fill the Brine Tank with industrial grade brine to your tank (fill to 3/4 full but don’t fill it more than that). Fill the tank with water to ensure that the salt gets completely covered by about 1-2 inches (follow the manufacturer’s recommendations of brine volume).
Attach with the Brine Line: Connect the brine line (included with the softener) from the brine tank to brine valve of the resin tank. Attach the line with clamps to ensure that it is not disconnected.
Step 4: Electrical Connections
Make sure you check the Power requirements. Confirm that the softener is running on either 110 or 220V of power. Make use of a voltage tester ensure that the outlet is operating and is grounded.
Connect the Control Panel to the Internet Connect the power cord for the softener to the GFCI outlet (required to ensure safety). If you require hardwiring then you must hire a licensed electrician to ensure that the code is followed.
Check the Control Panel Start by turning on the power and see whether the control panel is lit up. Set the cycle for regeneration (industrial systems usually regenerate at evening or in low-water use hours).
Step 5: Test the System
Turn on the water supply, start by slowly opening the water supply valve in order to avoid the possibility of pressure surges. Verify the connections (inlet outlet, inlet and brine lines) for leaks. Tighten fittings as required.
Clean the System, then run your water over the softener over a period of 10 minutes to eliminate any resin beads or other debris. Switch on the downstream faucet to ensure the softened water flows.
Check the water’s hardness again, after 24 hours check the water’s hardness to ensure that the hardness has decreased to the desired level (industrial facilities usually strive for 0-3 GPG).
Program Regeneration, adjust the control panel to set the frequency of regeneration (based on the water usage–e.g. Renew every 3 days in the most-demanded facilities).
Final Thoughts
Installation of an Industrial water softener can yield benefits in terms of lower maintenance of equipment, energy savings and a better top quality item. When you pick the best machine by determining the best spot and making sure you follow the proper procedure during the process of installing and maintenance, you can be sure that the softener will be running at its peak for many years to follow. If you have a problem that’s difficult or unclear in any way, seek out an expert who has years working experience within the industry for industrial treatment of water. This will assist you in avoiding costly mistakes and to ensure the safety standards.
For more industrial water treatment tips or help selecting a softener for your facility, please contact Molewater’s expert team immediately!